Changes made to the shapefile can be saved by the following steps:
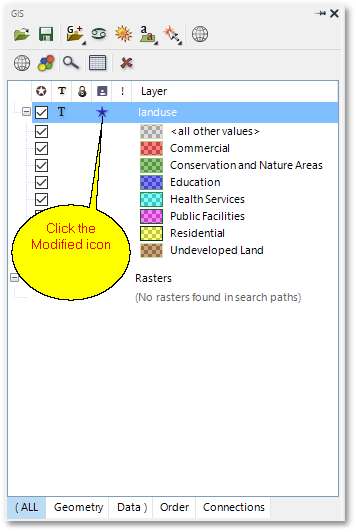
•Click on the Modified icon, i.e. the blue star in the GIS Layer Manager box which will always appear when there have been changes made to the geometry and/or database table of the shapefile (colour and rendering edits are not saved as part of the shapefile, but can be saved separately as part of the project).
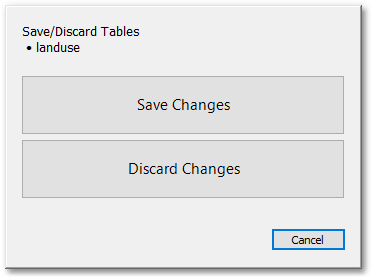
•The Save/Discard Tables dialog box will appear. Click the Save Changes button. If you want to save the shapefile with a new file name, select GIS > Data > Save Layer As then click on the Browse button and specify a new path and file name, followed by Save. Alternatively, right-click on the layer and select Save As>Save Layer As to achieve the same outcome.
This concludes Albion GIS Quick Start Guide. Many more features and functions of Albion are discussed in the detailed tutorials and the online CAD & GIS help.
Before continuing with the next tutorial, it is recommended to exit and restart the program to start with a clean slate.