In this final part of the tutorial we will explore the spatial data results obtained from the data processing performed so far, by building query expressions and applying special rendering on the polygons to convey certain result themes.
•We will start defining a query expression on the output shapefile Table_Bay_Swift.shp to show parcels (also referred to as erven) with average daily demand between 2 and 4 kl/erf/day.
oOpen the Select by Expression box by right-clicking on the Table_Bay_Swift.shp layer in the the GIS layer manager and select from the pop-up menu: Select by Expression. Alternatively you can first open the layer database table by clicking the ![]() Edit Database icon, and then select Edit > Select by Expression from the table menu. We suggest the latter option, since you can then get a direct overview of all the fields in the table.
Edit Database icon, and then select Edit > Select by Expression from the table menu. We suggest the latter option, since you can then get a direct overview of all the fields in the table.
oEnter the following query expression on the average daily demand field (Av_Day_Dem):

Note: You can select Av_Day_Dem and then click the Insert Field button as shown above to facilitate the query expression inputting process (hereby you do not have to type in Av_Day_Dem, but rather select it from the adjacent list). You enter various other query expressions using e.g. OR as operator etc. (see Albion reference guide for detailed function description on query expression). Queries can also be saved and loaded to facilitate the query input process. The above query results will be displayed as selected rows in the table and their corresponding polygon shapes will also be indicated as selected in the spatial environment:
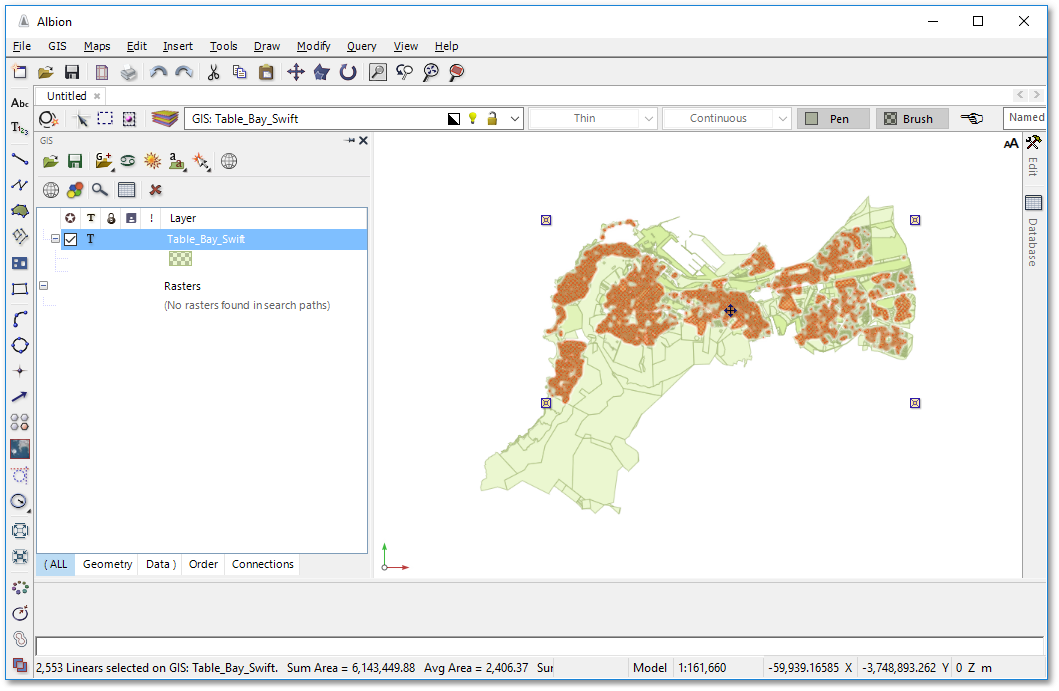
•We will finish off this tutorial by demonstrating style rendering that can be applied to the Table_Bay_Swift.shp parcels. Note, that basic style rendering was already discussed in the Albion Quick Start Guide.
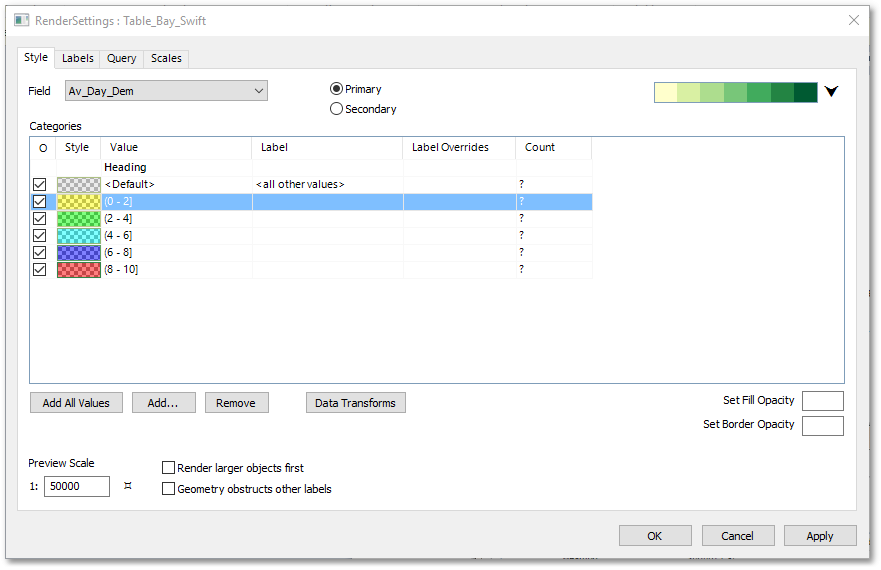
oClick on the white space in the spatial environment to deselect any current selection. In the GIS Layer Manager, select the Table_Bay_Swift.shp layer and click on the Render Settings icon to open the Render Settings box and set the following:
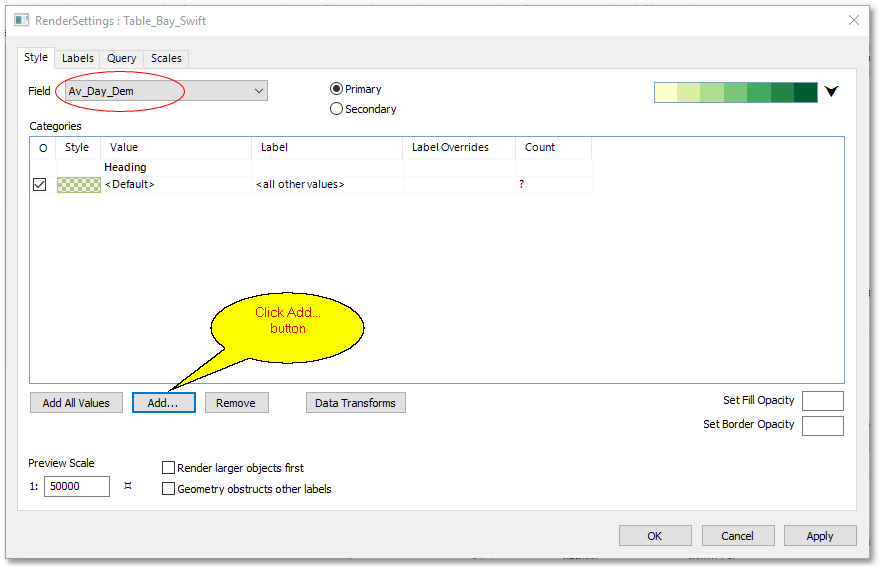
▪Select Field: Av_Day_Dem
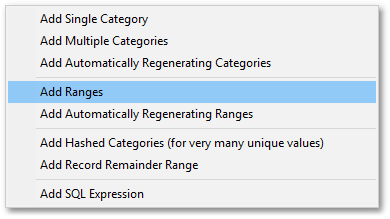
▪Click Add... and select Add Ranges from the ensuing pop-menu:
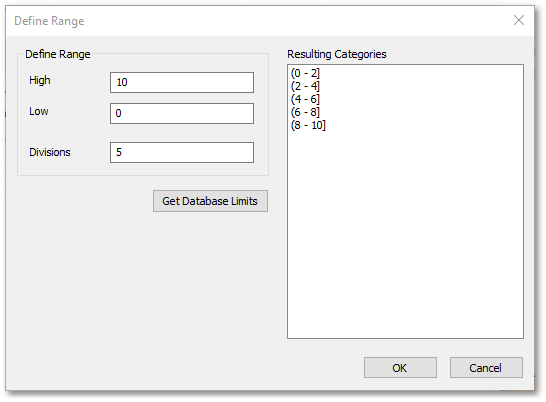
▪From the Define Range box set up the Resulting Categories to focus only on the range between 0 and 10 kl/erf/day with 5 categories in increments of 2. This can be accomplished by specifying the High, Low and Divisions values as following:
▪Set colours as per image below and click Apply.
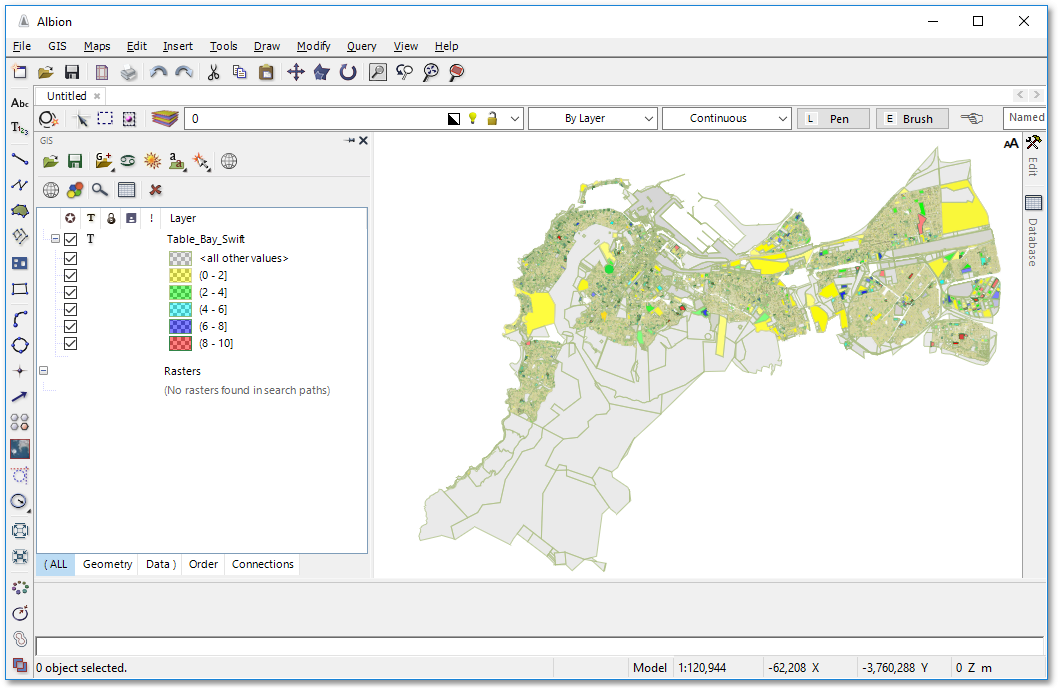
The polygons of the Table_Bay_Swift.shp will be rendered as shown below:
oRemove all active rendering (by selecting each category in the Render Settings box and click the Remove button). Our next rendering exercise will display erven where the Landuse are not the same as the Zoning rights and can be obtained by the following steps:
▪Set <default> brush to “no fill”.
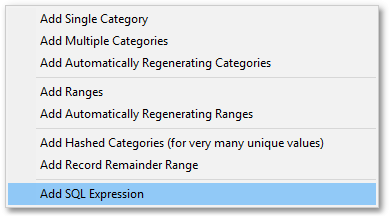
▪Click Add... and select Add SQL Expression from the ensuing pop-menu:
▪Enter the following SQL script in the Script box:
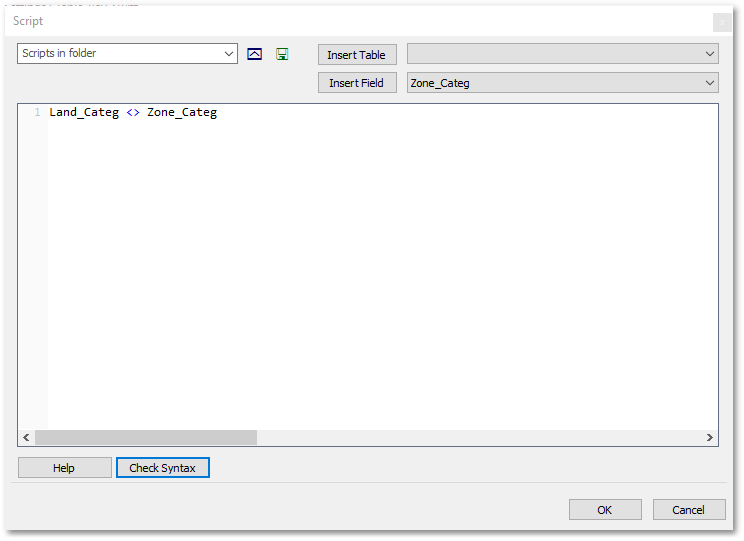
▪In the Render Settings box, change the label "Expression" to "Landuse <> Zoning". Click OK, to obtain the following rendering:
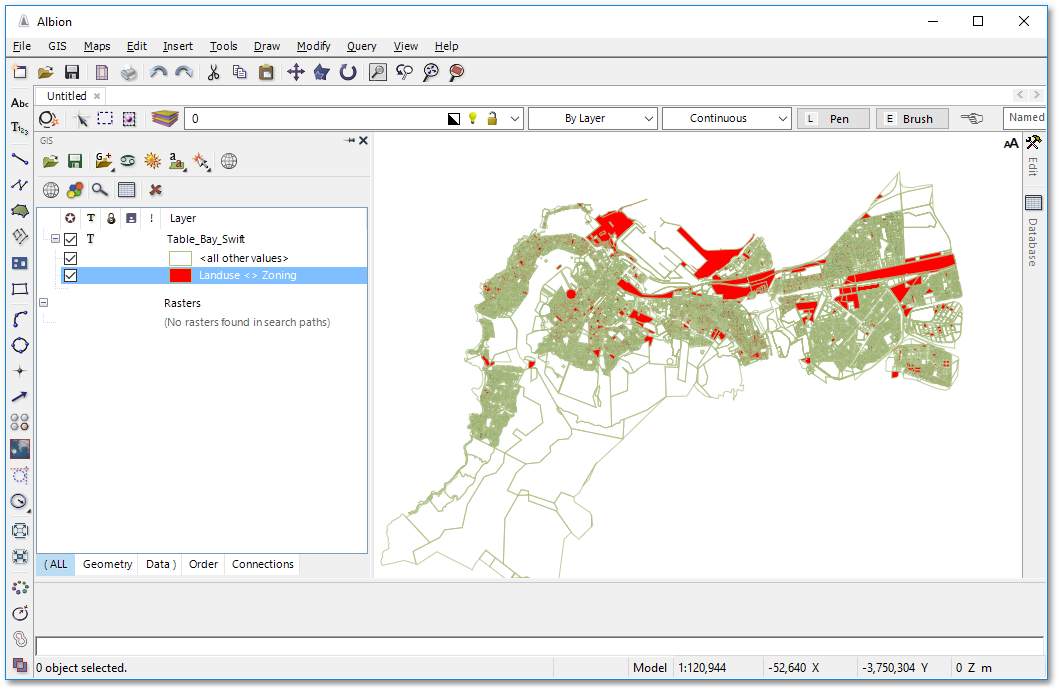
This concludes our Advanced GIS Exercise on importing, processing and rendering of results. Some more rendering examples can be found in the Albion Tutorial: Advanced Printing.
Before continuing with the next tutorial, it is recommended to exit and restart the program to start with a clean slate.