We are now ready to place a legend on the drawing to convey key information.
•Create a new CAD layer, called Legend. This now becomes the default drawing layer.
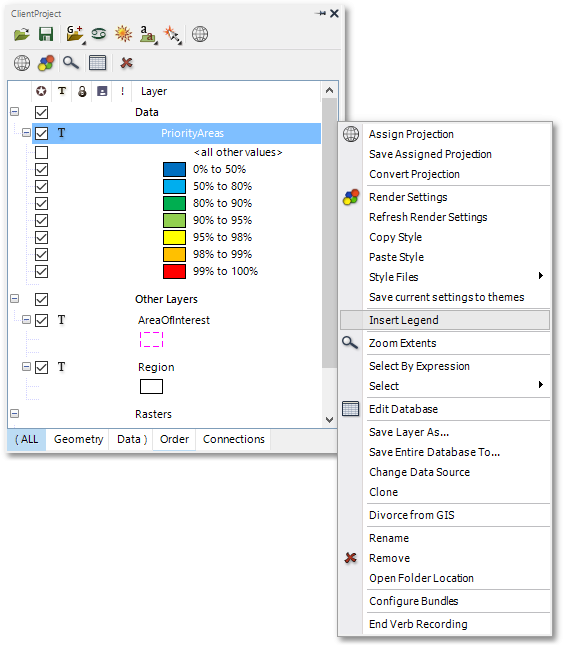
•Right-click on the PriorityAreas layer, select Insert Legend
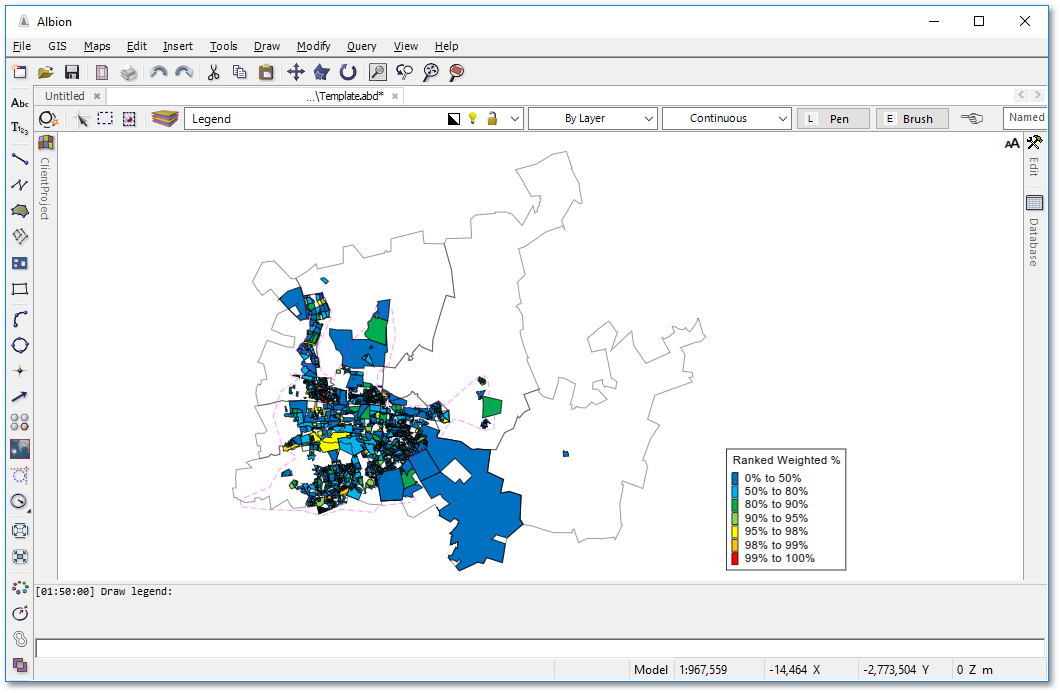
•Then select an area outside the final coverage, e.g. far right and draw the legend box, click top left, followed by bottom right
•Whe now change the text to appear at top of the legend, by right-clicking the PriorityAreas layer and then selecting Render Setting to open the RenderSetting box. Change then the text under Label to "Priority%":
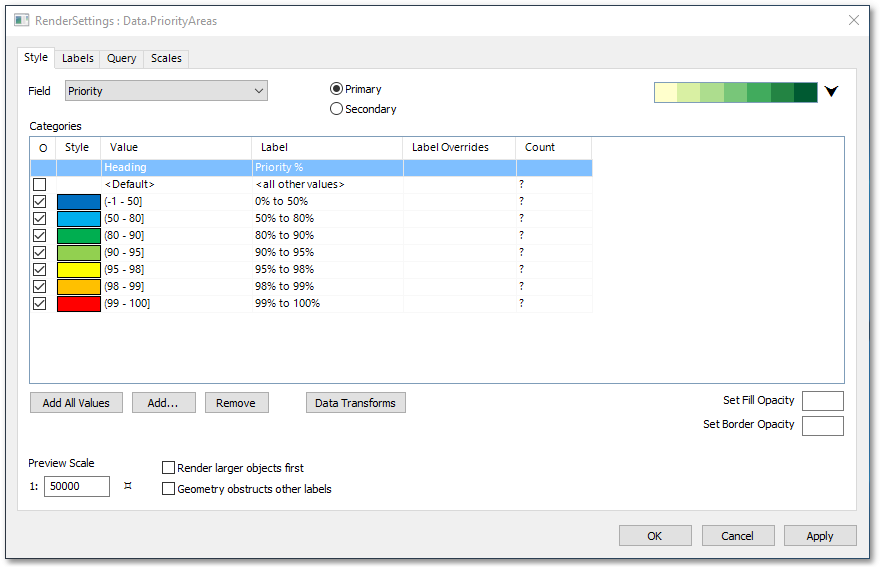
•We confirm the text has changed in the linked CAD legend.
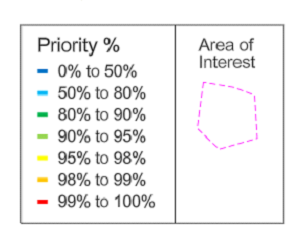
•We have now completed the legend insertion part of this exercise. If you want you can try out to extend the legend to convey more information such as e.g. the Area of Interest portrayed as a pink dashed line. Since the legend is on a CAD layer (viz. Legend), you can use all drawing and text tools available in Albion CAD to extend and improve the appearance. You can use e.g. the CAD lines command, CAD text command, Snapping parallel or construction lines to draw neatly and manually extend the legend with the Area of Interest, similar to below: