We are now ready to define a new Layout in paper space.
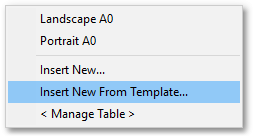
•Right-click on Model near bottom right (as described earlier for loading background template drawing).
•From the pop-menu, select Insert New from Template...
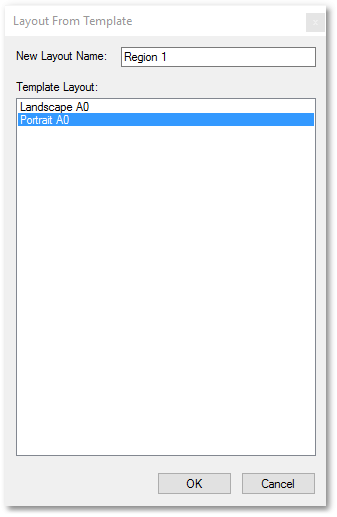
•From the ensuing Layout From Template box, choose a Template Layout for example Portrait A0, and specify New Layout Name at top as e.g. Region 1
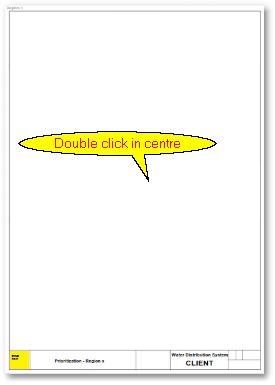
•Left double-click in central area of Paper Space (this enables world view in paper space):
•Ensure all the required layers are on in the top layer list:

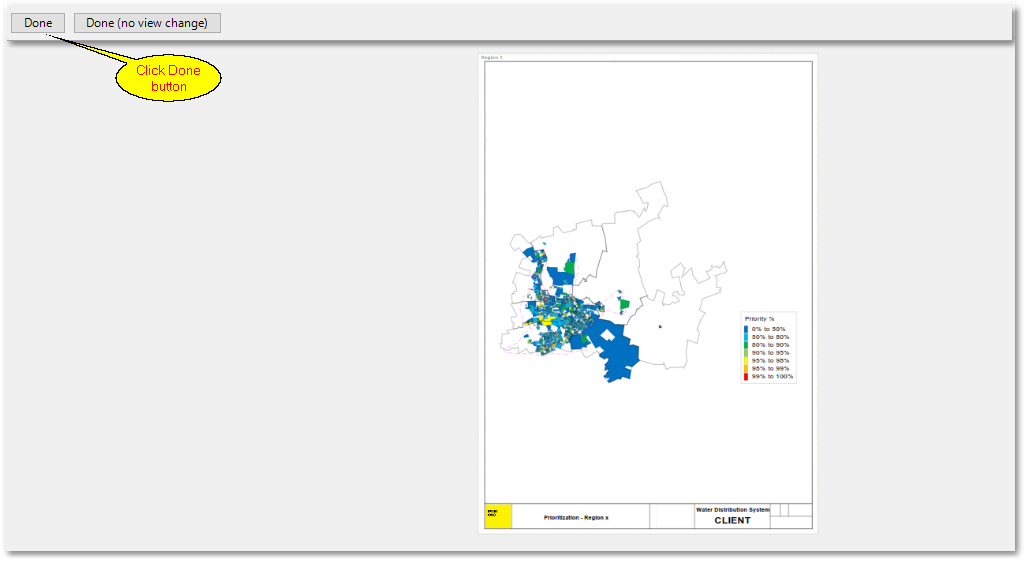
•Zoom out to cover the whole study area (Region 1) including the legend.
•Click done
•Now fine tune the scale in the Edit box, by entering a more rounded number for Scale e.g 220 000.
•Zoom to the bottom right Paper Space and edit the text 1: 35 000 to 1 : 220 000 (by left-clicking and then right-clicking on the text, selecting Edit Text which will open the Edit simple text box).
•Edit the text in Paper Space, e.g. Prioritization - Region x in title to Prioritization - Region 1, using Right-click edit text as described above)
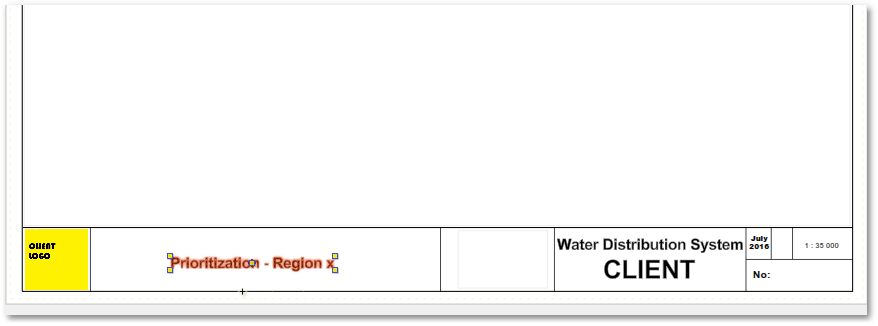
•Double-click on the central empty legend block in the bottom title to enable the second small Viewport in World Space View.
•Ensure only the Legend Layer is on the top pull down layer manager
•Then zoom in using the middle mouse wheel so the recently created legend from World Space shows full in size in the small Viewport.
•When you are satisfied, click Done
•You are welcome to repeat the process of setting up Paper Space Layouts for the other regions, deciding between using the Landscape or Portrait template for each Layout.
•You will then end up with 6 paper space Layouts, in addition to the two template Layouts.
•Finally, to check your results or if you have missed any steps, you can load Client_Request.abd and ClientProject_backup.agp from the ...\Documents\GLS\Albion\Advanced_Printing_Excercise folder.