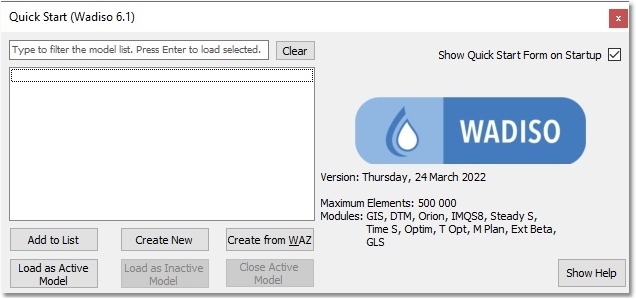
Before being able to capture new model entities (such as pipes or nodes), a new model file first needs to be created. This can be done by navigating to Manage Models > Quick Start from the main menu. The following window will appear (again):

If this is the first time you are using Wadiso, then the list of models will be empty, as shown above (see also Program start-up). In order to create a new model, click on the Create New button.
When the file browser appears, select the desired destination folder (you can either select Documents\GLS\Wadiso\, or create your own working folder). Then, enter a file name (e.g. “Wadiso 6 - My Quick Start Model”), confirming that the *.wlz format (standard Wadiso zipped model file format) will be used. Once this has been done, click on the Save button.
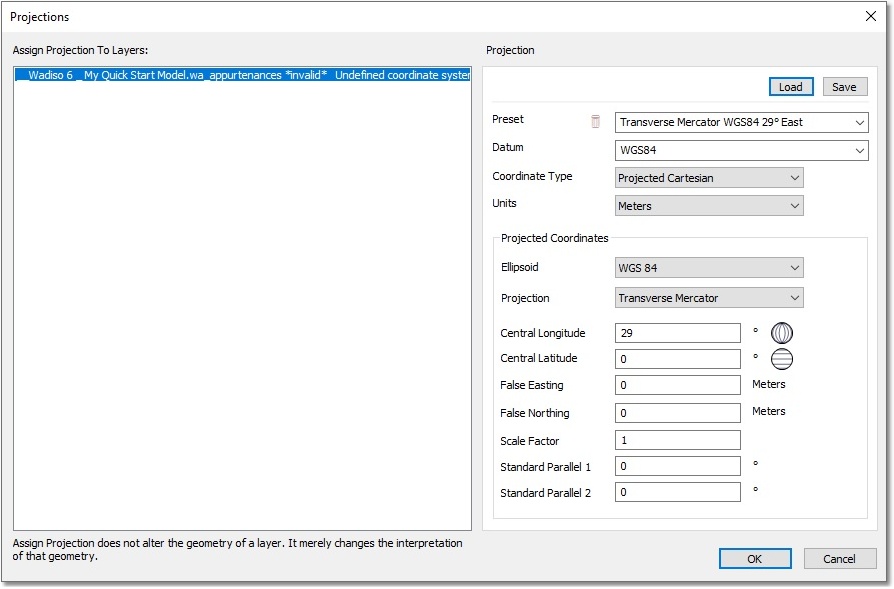
Before the model can be shown, a projection first needs to be set. The following dialog box will appear, but the values on the right might not be populated, especially if you have not previously loaded a CAD drawing containing a valid projection.

Should the Wadiso model (and possibly the background drawing) have an “Undefined coordinate system”, it must first be resolved. For this exercise, let's assume that the information was not valid. Click on the Load button at the top right, then select the Documents\GLS\Wadiso\Albion\Projections\WGS84-29_Projected.prj file, and then select Open. This will load WGS_1984_Transverse_Mercator (29 degrees east) projection. Alternatively, enter/select all the values in the right-hand pane, until they match the screen-shot above. The input values displayed in the screen-shot above are merely one of many sets that can be chosen. It is advised that you study the Albion User Guide for a more detailed explanation about projection settings.
After you have selected or defined the projection for both the drawing and the model, click on the OK button. A new empty model will be created, with its various layers/tables shown in the GIS Layer Manager.
The theming of these layers (which you cannot see yet, because the model is still empty) will be in accordance with the default theme (that was specified in Program start-up), and is displayed in the theme selection window, near the top left-hand corner. This is typically the Data:Diameter theme, and can be changed later.
